Kitchen
How to Style a Kitchen Island Like a Designer
This post contains affiliate links. If you make a purchase, we may earn a small commission at no extra cost to you.
A kitchen island is the hardest working surface in your home and the easiest one to get wrong. Left bare it feels cold, piled with clutter it feels chaotic. The good news is that designers follow a simple formula, and once you see it you cannot unsee it. Below are the eight steps that take an island from builder basic to magazine ready, in the order a stylist would actually do them, plus the exact pieces to shop for each one.
1. Start With the Right Counter Stools
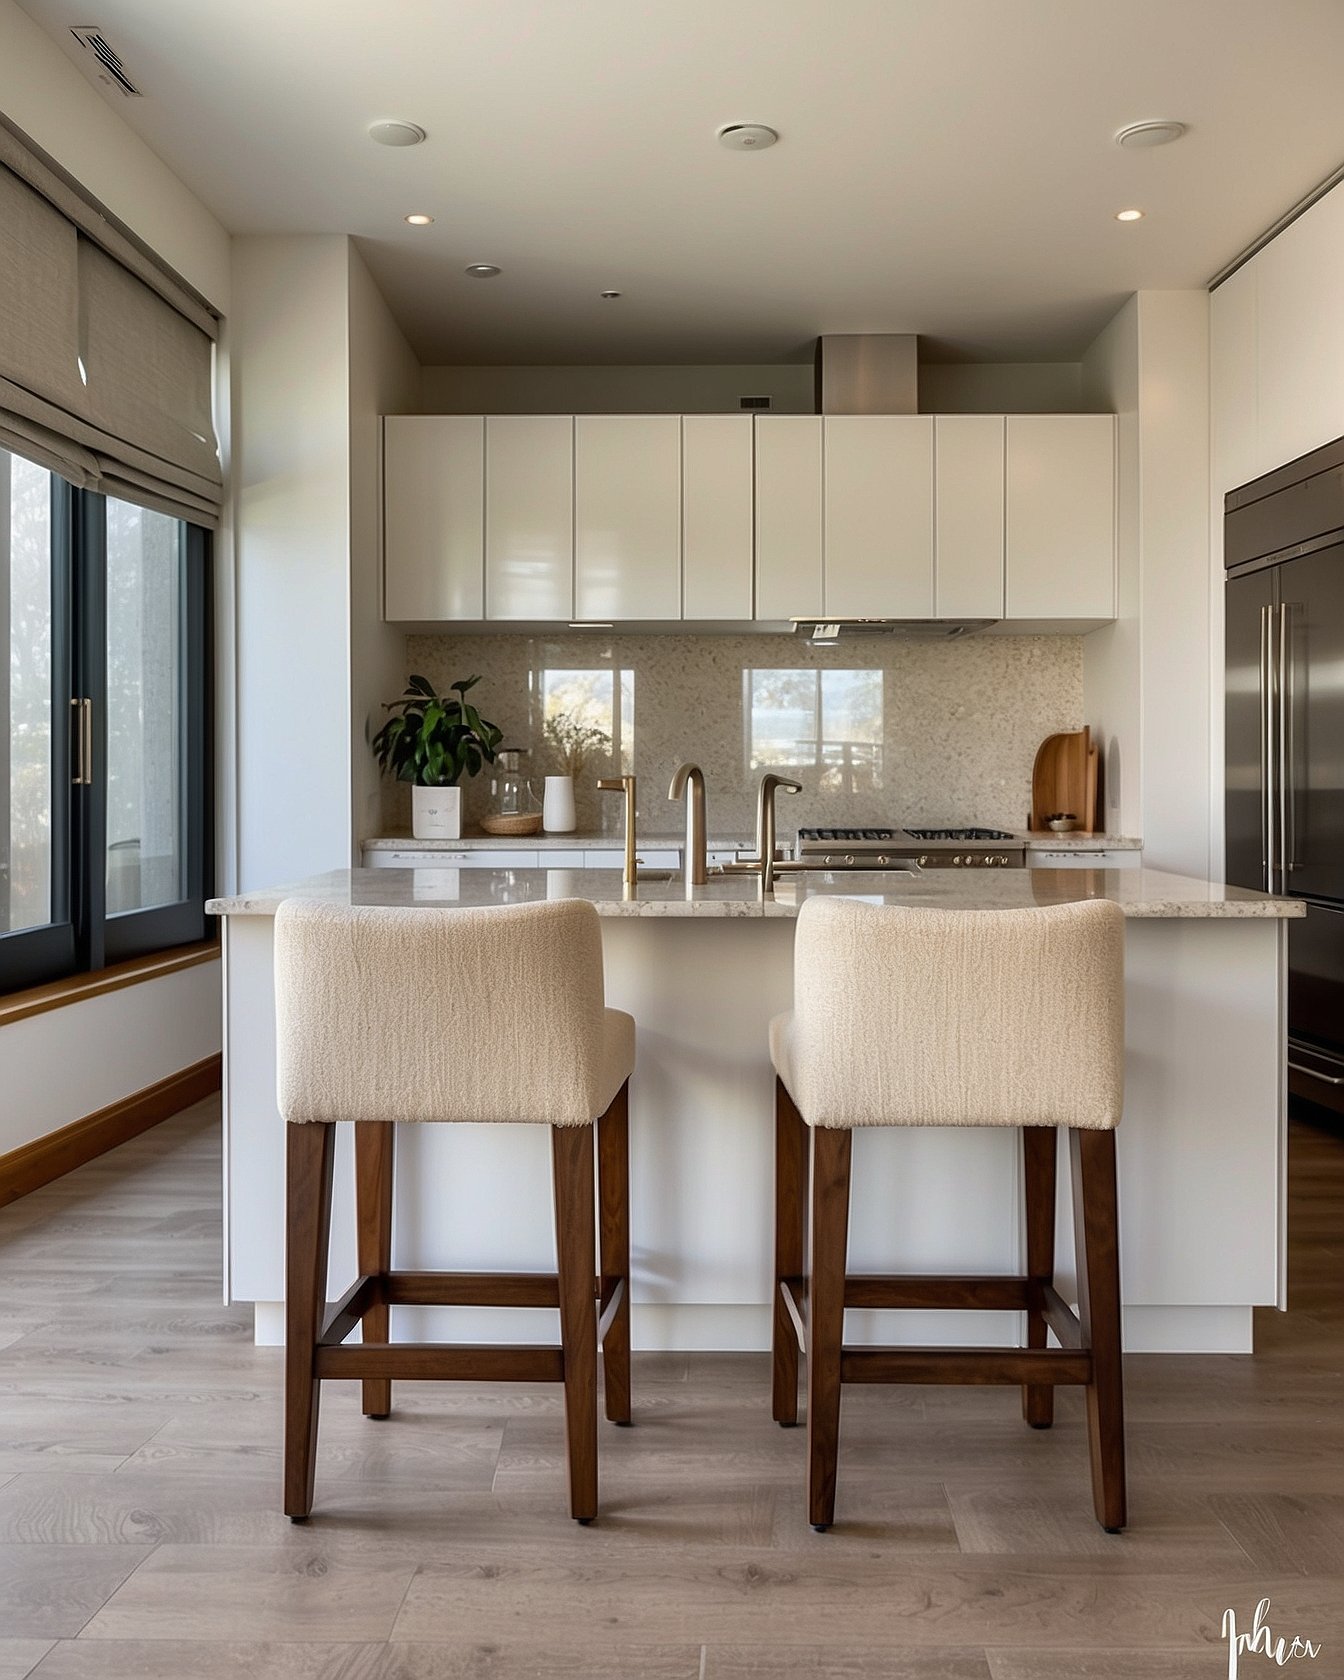
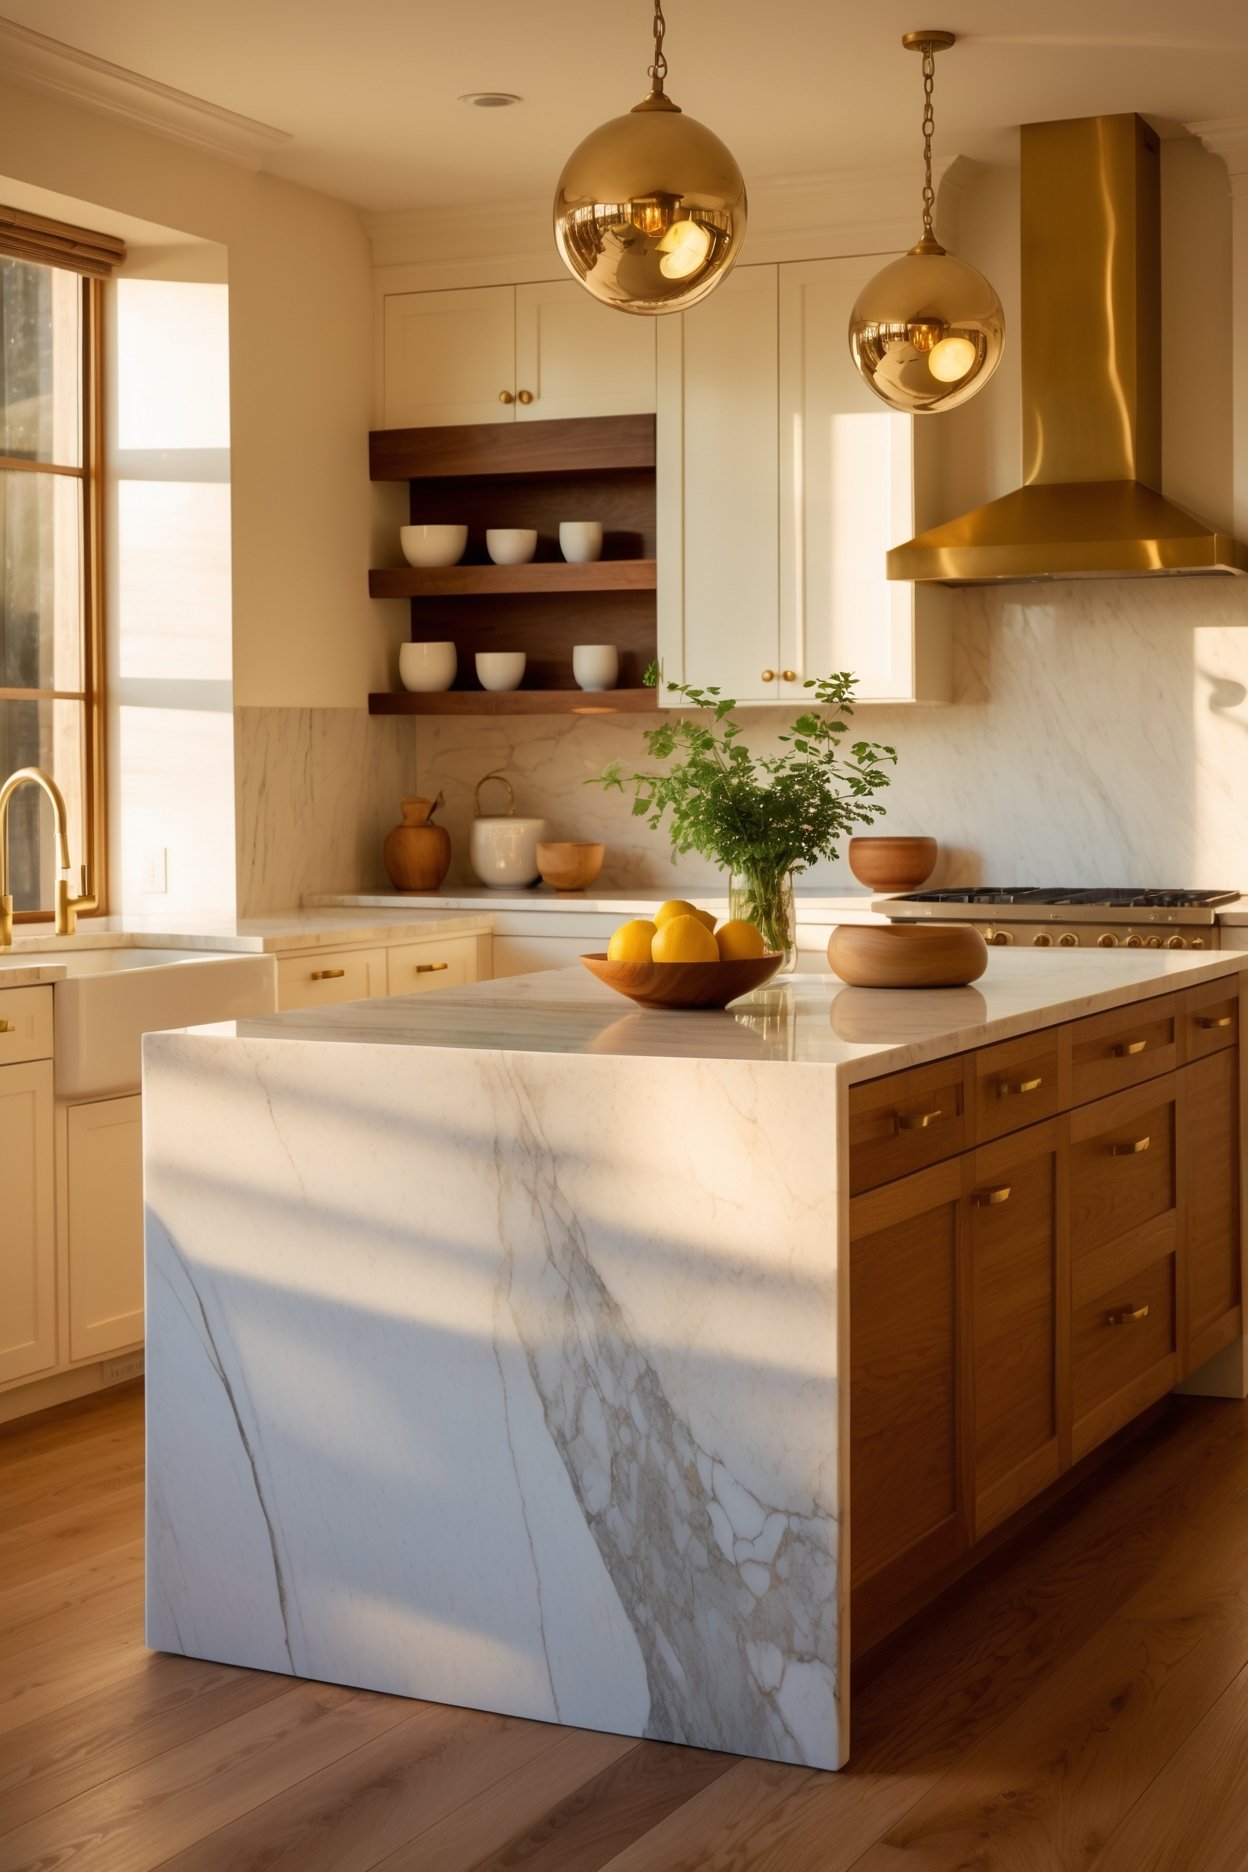
Stools are the single biggest visual statement on an island, so start here. The designer rule is to leave at least 6 inches between each stool and 10 to 12 inches of knee clearance under the counter. For a warm, current look in 2026, choose natural wood or woven seats over cold metal. Warm wood stools soften a hard stone top and tie the island to wood floors and shelving elsewhere in the room.
Sizing tip: Counter height islands need 24 inch stools, bar height islands need 29 to 30 inch stools. Measure before you buy.
2. Hang the Right Pendant Lights
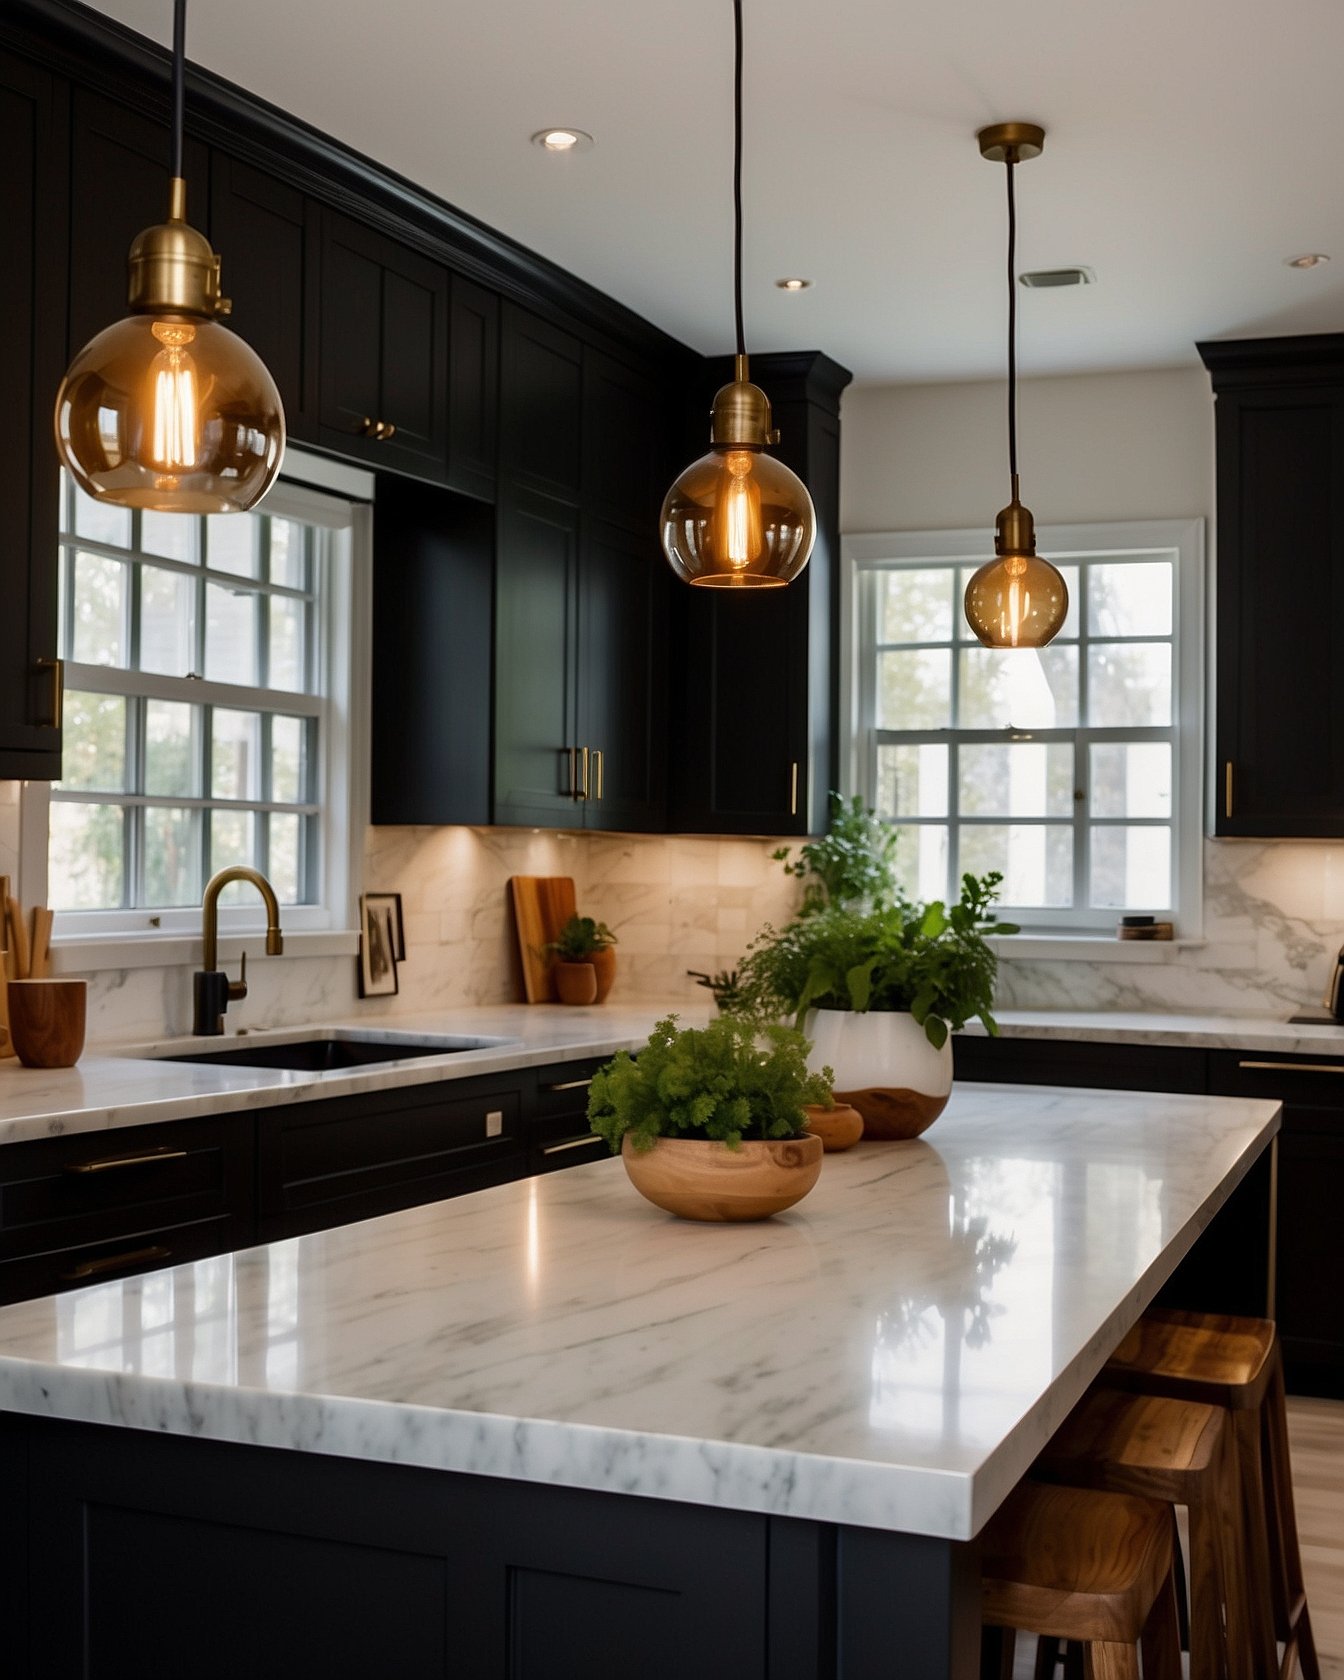
Pendants give the island its vertical drama. The formula stylists use: hang two or three pendants spaced evenly, with the bottom of each shade sitting 30 to 36 inches above the countertop. For a standard island, two pendants look balanced, while a longer island can carry three. Keep the finish consistent with your faucet and cabinet hardware so the metals read intentional rather than random.
Spacing tip: Center the lights over the island, not the room. They should line up with the island, even if that looks off-center to the ceiling.
3. Anchor It With a Centerpiece

Every styled island has one anchor object near the center. A wooden fruit bowl filled with lemons or green apples is the timeless choice because it adds color, looks lived in, and is genuinely useful. Keep the centerpiece low enough to see over when seated, and resist the urge to crowd it. One generous bowl reads more expensive than five small trinkets.
4. Layer in a Wooden Board for Texture

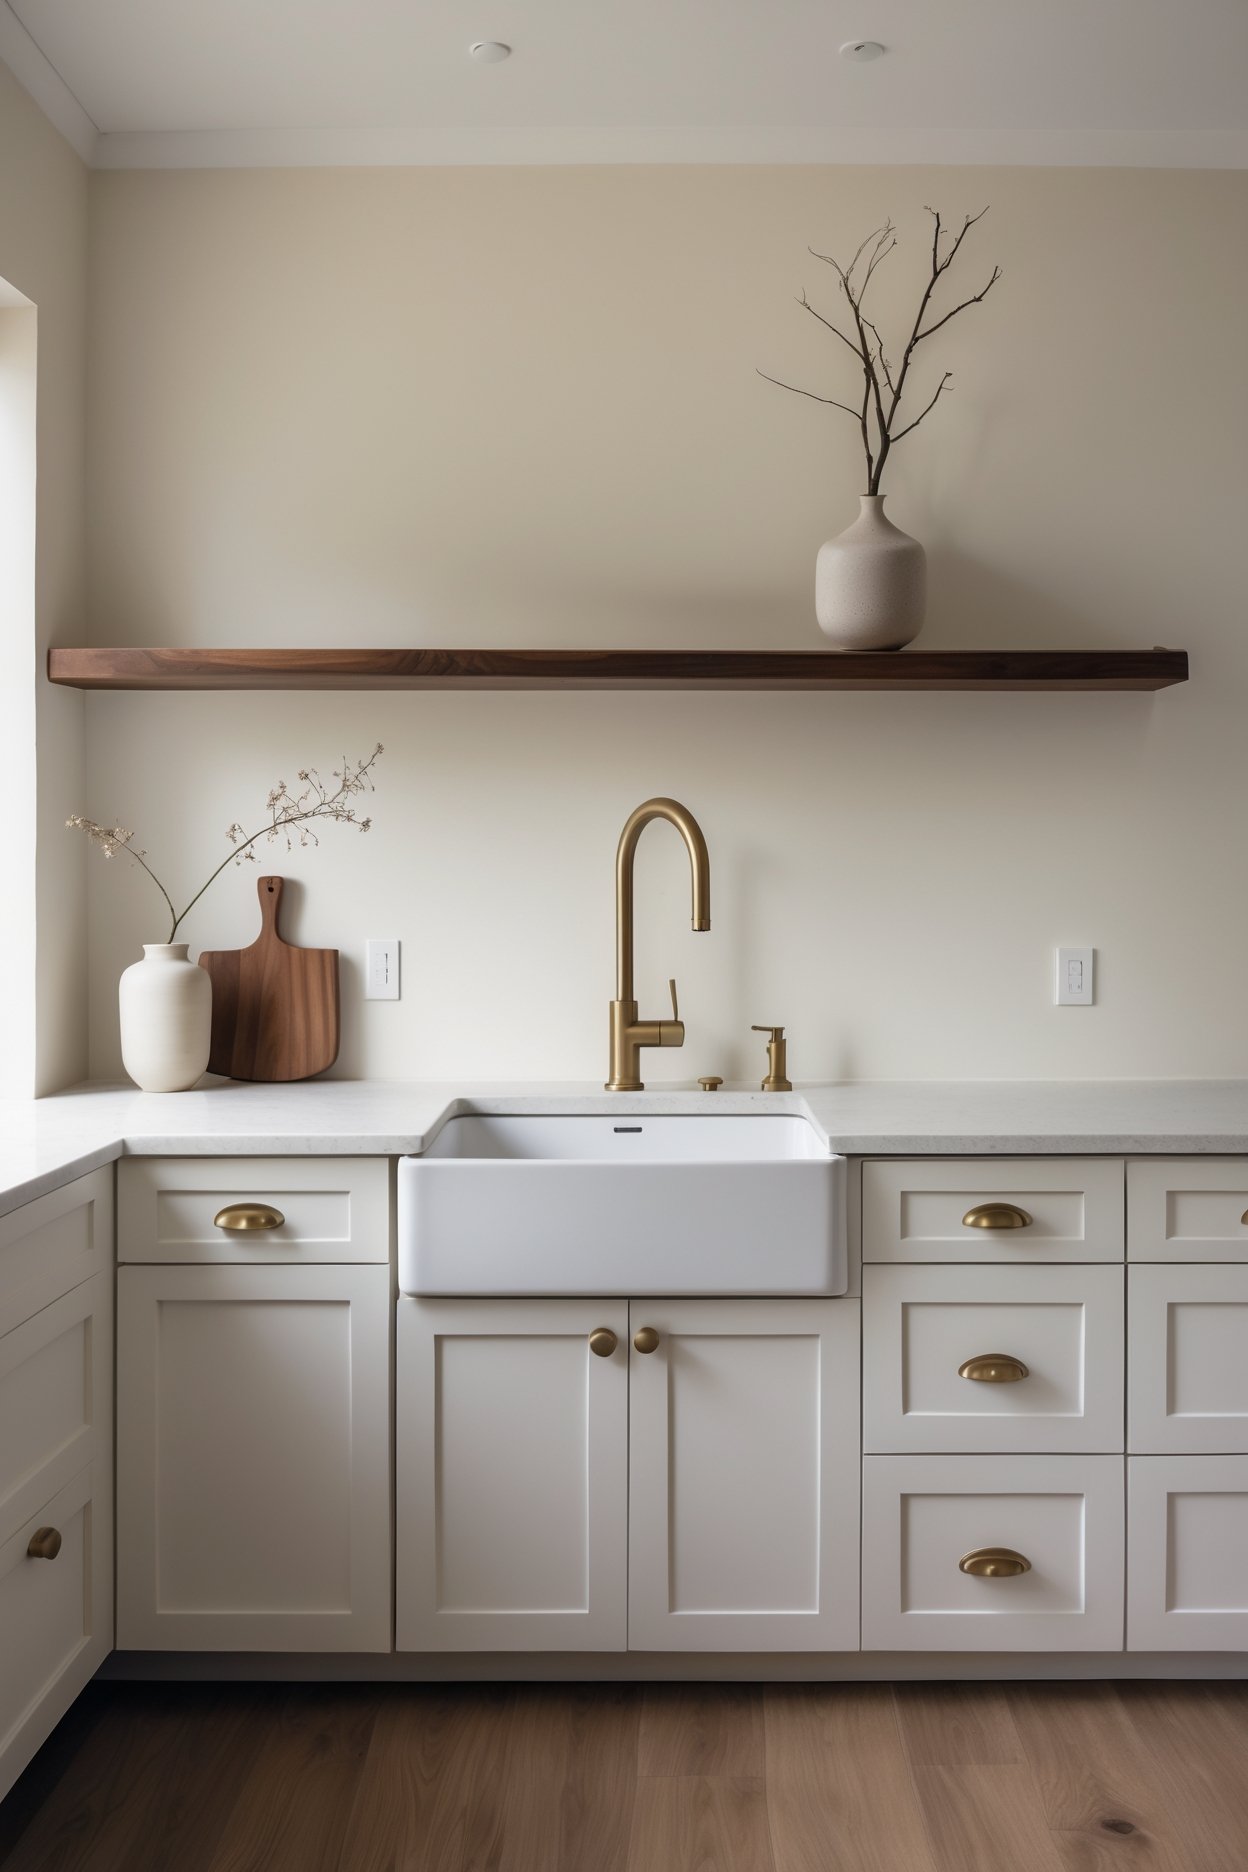
A large wooden cutting board is the stylist secret weapon. Lean a thick walnut board against the backsplash side of the island or lay it flat with a small bowl on top, and the whole surface instantly feels warm and curated. Wood breaks up the hard stone and metal and adds the organic texture that every cozy kitchen needs. Bonus: it is the one prop you will actually use every day.
5. Add a Canister Trio
Designers love odd numbers, and a set of three matching ceramic canisters with wood lids hits the sweet spot. Group them at one end of the island to hold coffee, sugar, and flour, or simply for the look. The repetition of shape reads calm and intentional, and the warm wood lids echo your stools and board. Keep them to one corner so the rest of the island stays open and workable.
6. Dress It With a Runner

A simple natural runner laid down the center of the island softens the stone and gives your centerpiece a place to live. Stick to neutral linen, cotton, or burlap in cream, oatmeal, or soft stripe. The runner is also the easiest seasonal swap in the kitchen: a warm rust tone for autumn, fresh white for spring, and you have refreshed the whole island for under twenty dollars.
7. Light It From Below
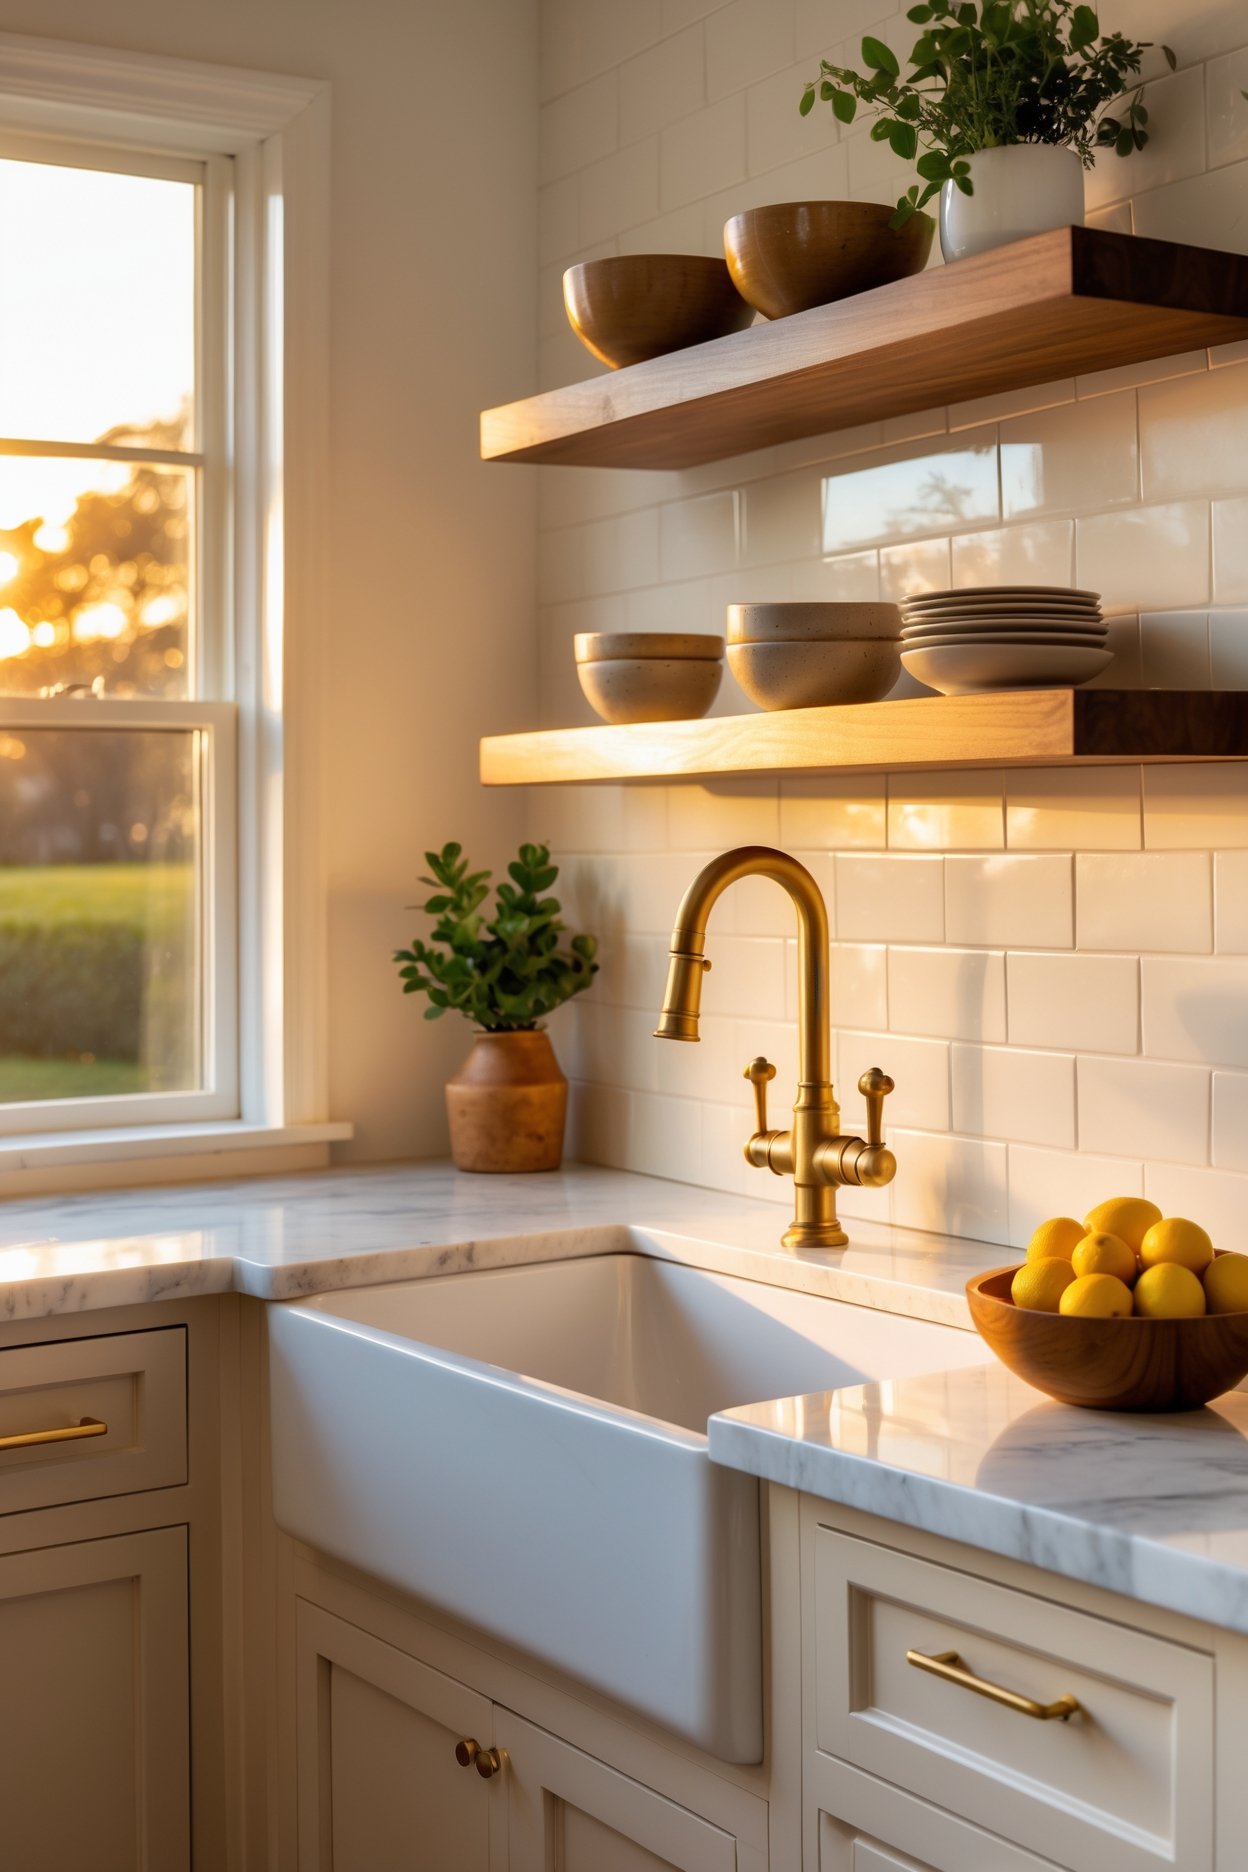
The detail that makes an island look custom is a soft glow under the overhang. A warm white LED strip tucked under the counter lip washes light down the cabinet base and makes the whole island appear to float at night. Choose a smart strip you can dim and put on a schedule, so the island glows gently at dinner and turns into a soft nightlight on the lowest setting. It is a small touch that instantly reads high end.
8. Finish With Greenery
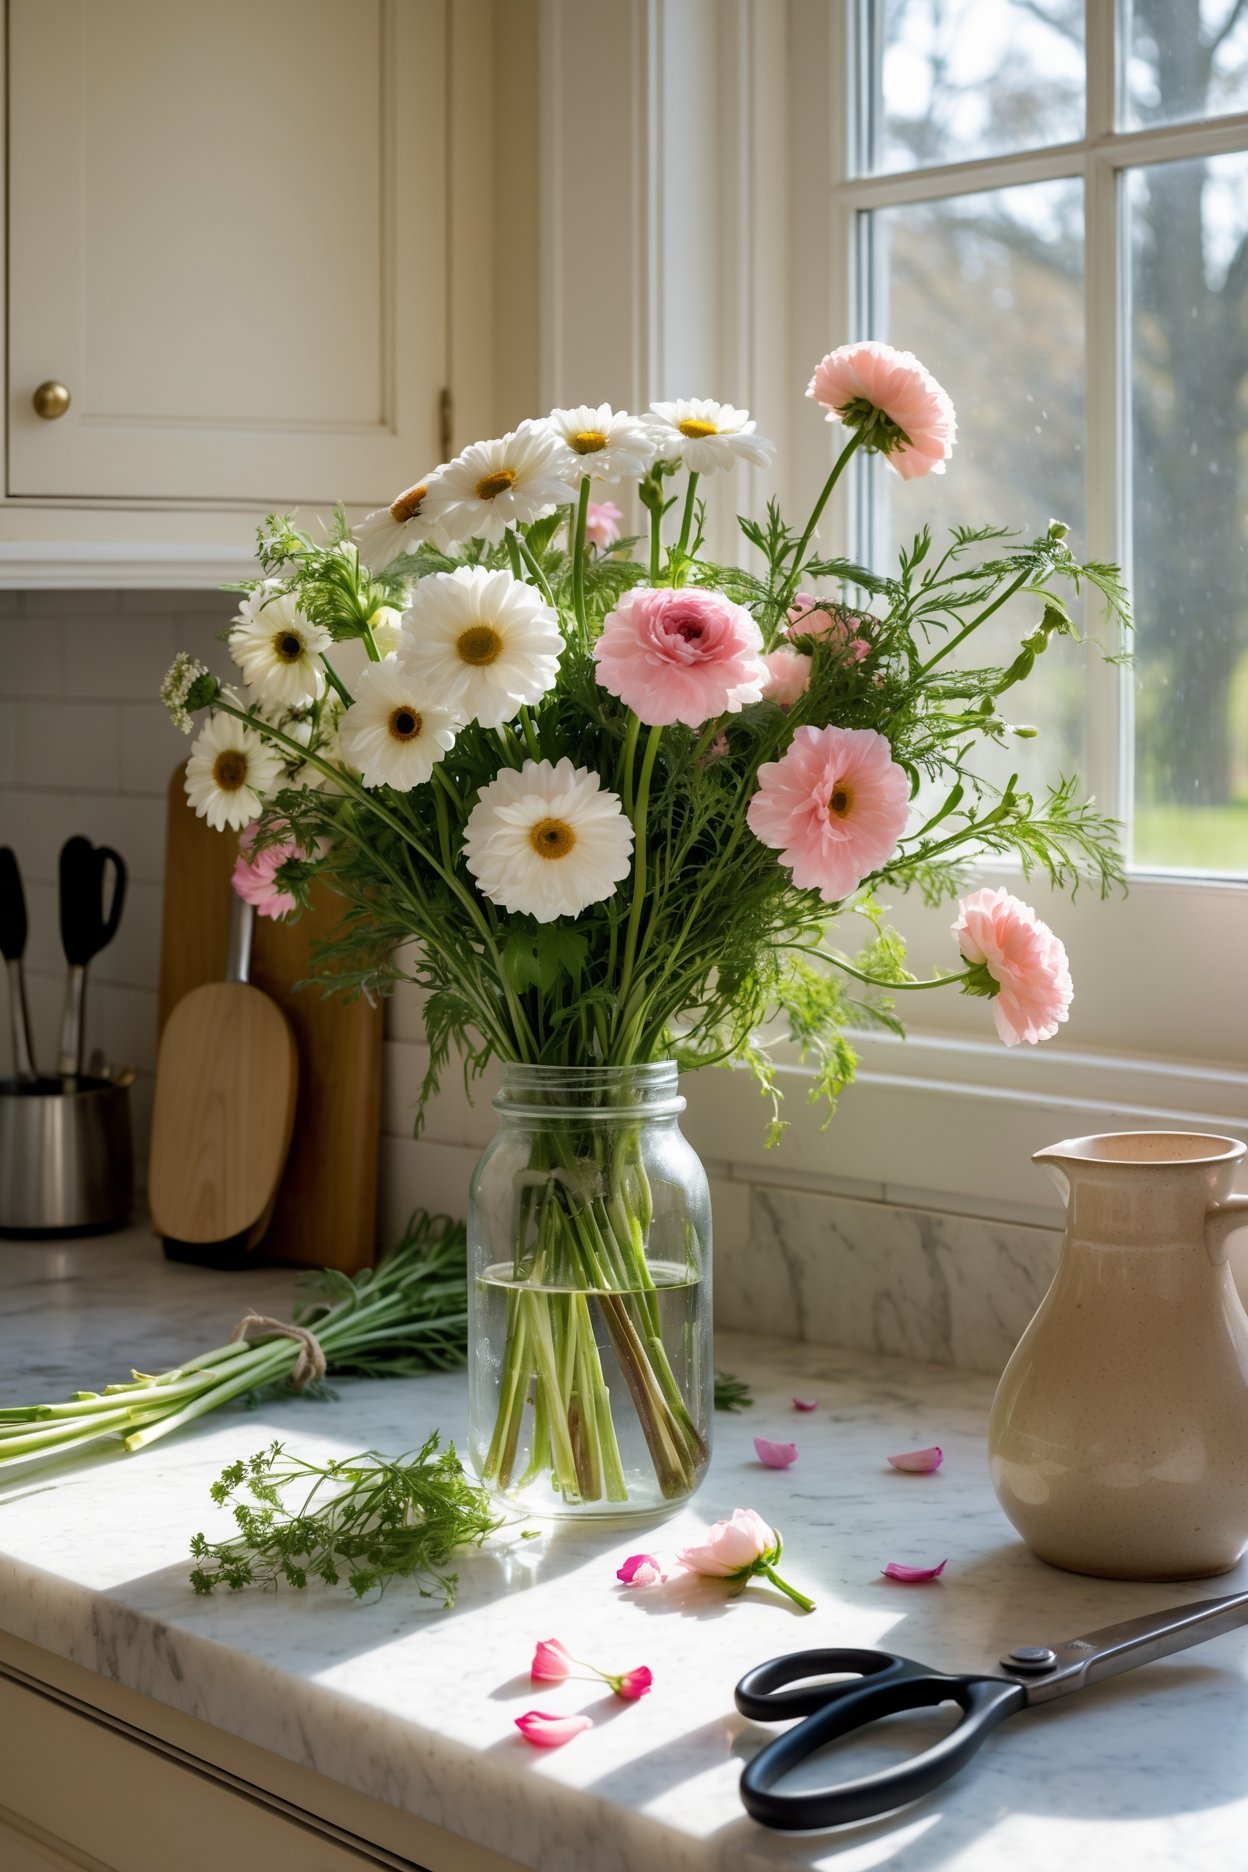
Greenery is the finishing touch that brings the whole island to life. A small wood planter of fresh herbs, a single stem in a bud vase, or a low bowl of eucalyptus adds the bit of living color that no stone or wood can. Keep it simple and low, place it near the centerpiece, and you are done. Real or faux both work, but if you can keep basil and rosemary alive, the island earns its keep and smells incredible.
Putting It All Together
The designer formula in one line: warm wood stools, two or three pendants, one centerpiece bowl, a wooden board, a canister trio, a soft runner, under counter lighting, and a touch of greenery. Style the surface in groups of odd numbers, keep at least half the island clear for actual cooking, and stick to two or three materials so it never looks busy. Do that and your island will look like it cost a fortune to design, even if the styling came in under two hundred dollars.
Start with the stools and the lighting, since those two carry the most visual weight, then layer the smaller pieces over a weekend. Snap a photo, pin it, and you have the most photographed surface in your home.
This post contains affiliate links. We may earn a small commission at no extra cost to you.
◉ Complete Shopping List
Everything in this guide.
Swipe or tap the arrows to browse. Tap any product to view current pricing.